Shopping Cart
Catalog of Modules for PrestaShop and Web Plugins
Manage restaurant bookings with interactive table floor plans, time slots, and party size management. Features smart table assignment, cross-selling for food/drinks, QR check-in scanner, and self-service cancellations. The complete hospitality solution for PrestaShop. 🍽️📲
Digitize your restaurant management and maximize floor occupancy with Restaurant Table Reservations Pro! 🚀
Managing reservations via phone calls or third-party platforms with high commissions eats into your margins. This module transforms your PrestaShop store into a powerful, visual, and direct booking engine—entirely commission-free.
How does the customer booking flow work?
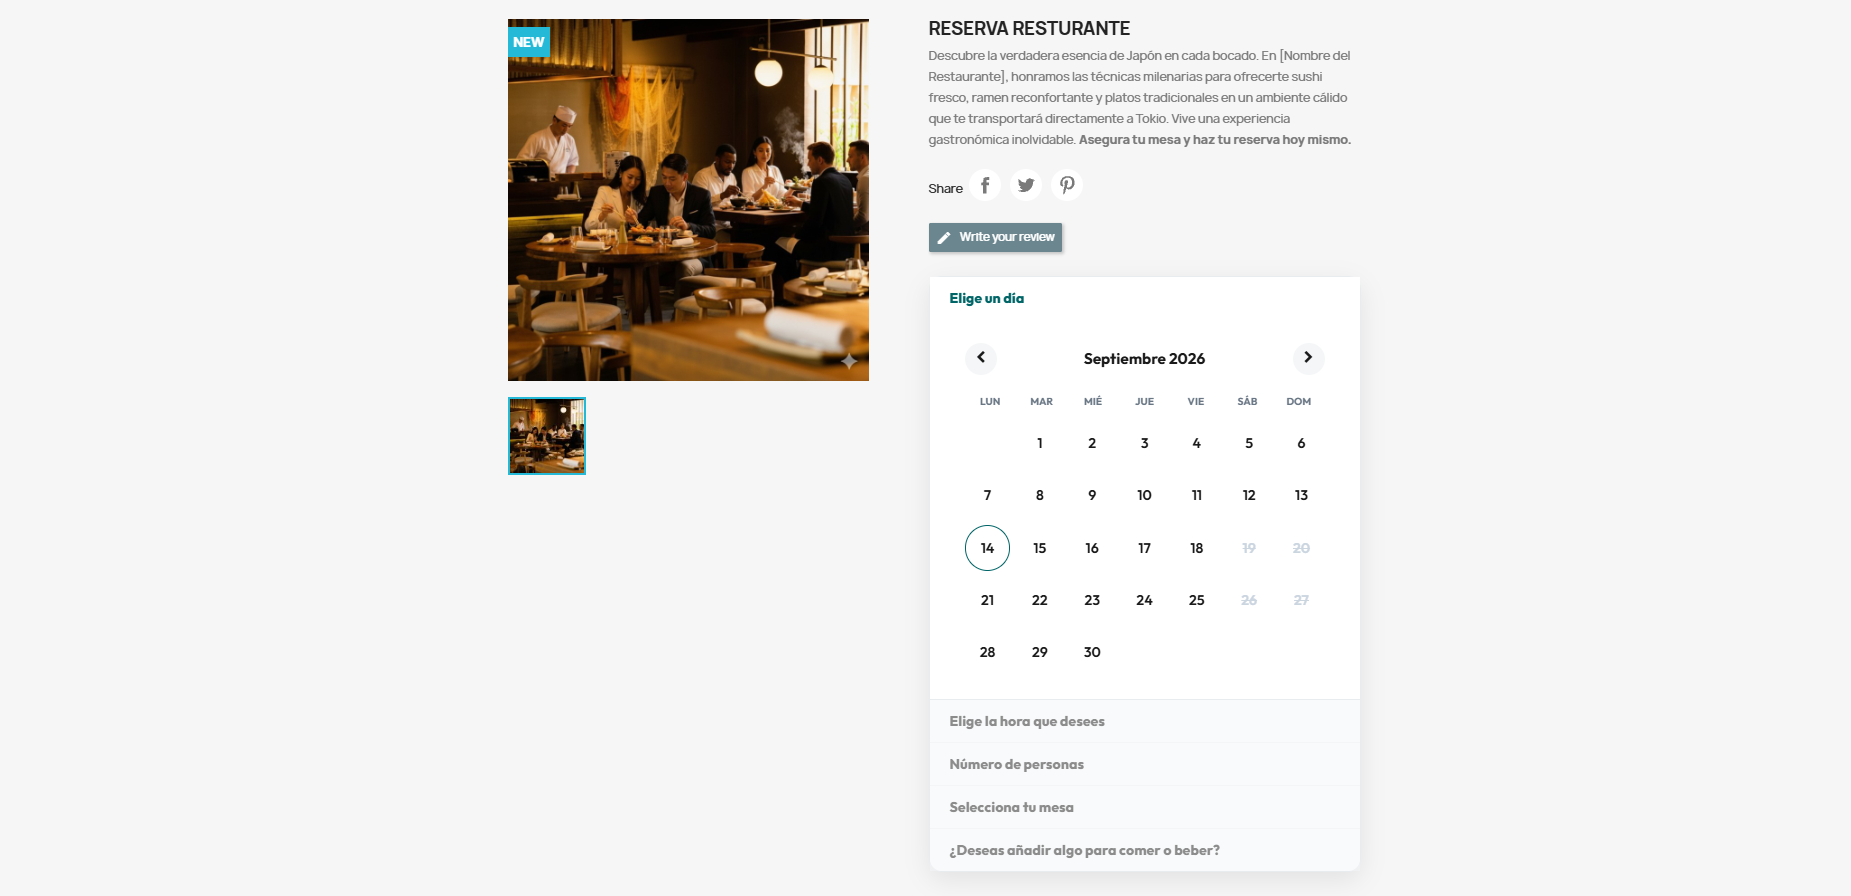
Date & Time Slot Selection: Guests select their preferred date on the interactive calendar and view available time slots according to your configured shifts.
Visual Floor Plan Selection (Step 4): Diners explore your floor plan divided by dining areas (Terrace, Main Dining Room, VIP Lounge), identifying available, partially occupied, or reserved tables via color-coded status badges. If the floor plan view is disabled, the engine automatically assigns the best table based on party size.
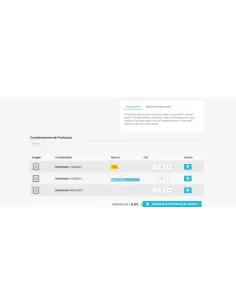
Menu Cross-Selling (Step 5): Upsell pre-ordered meals, tasting menus, or beverage pairings prior to checkout, featuring an intuitive category selector and modal quick-view previews.
Booking Pass with QR Code & Seating Map: Upon confirmation, guests receive a PDF voucher containing the detailed floor map highlighting their seat, accompanied by a unique QR code for seamless front-of-house check-in.
Front-of-House Operational Tools:
Scanner Web App (PWA Validator): Floor staff and hosts can scan guest QR codes from any mobile device or tablet to validate check-ins in real time.
Host Service Sheet (Maître PDF): Generate and print shift-by-shift run sheets grouped by zone, listing guest names, party sizes (pax), table numbers, operational notes, and pre-ordered dishes.
Automated Welcome Email: Trigger an automated, customizable welcome email the moment a party is validated at the door.
Temporary Cart Holds & Release: Selected tables are temporarily held in the cart with an expiration countdown to prevent double-bookings. If the session expires without completion, tables are immediately returned to inventory.
Self-Service Cancellations: Diners can cancel their bookings directly from their user account within a cutoff window defined in the back office.
Module Setup & Configuration Guide
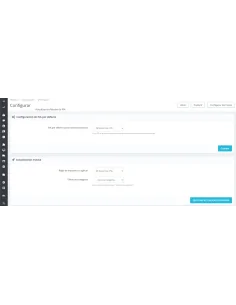
1. Unpacking the Package: Extract the downloaded zip file. Inside you will find two packages: first, the primary module for restaurant reservation management; second, a complementary module designed to streamline checkout (fast checkout) by bypassing redundant address steps when reservations are free and involve no physical products or food orders.

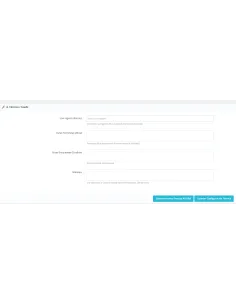
2. Creating a Floor Map: Create a new floor map and enter at least an internal title to identify it.
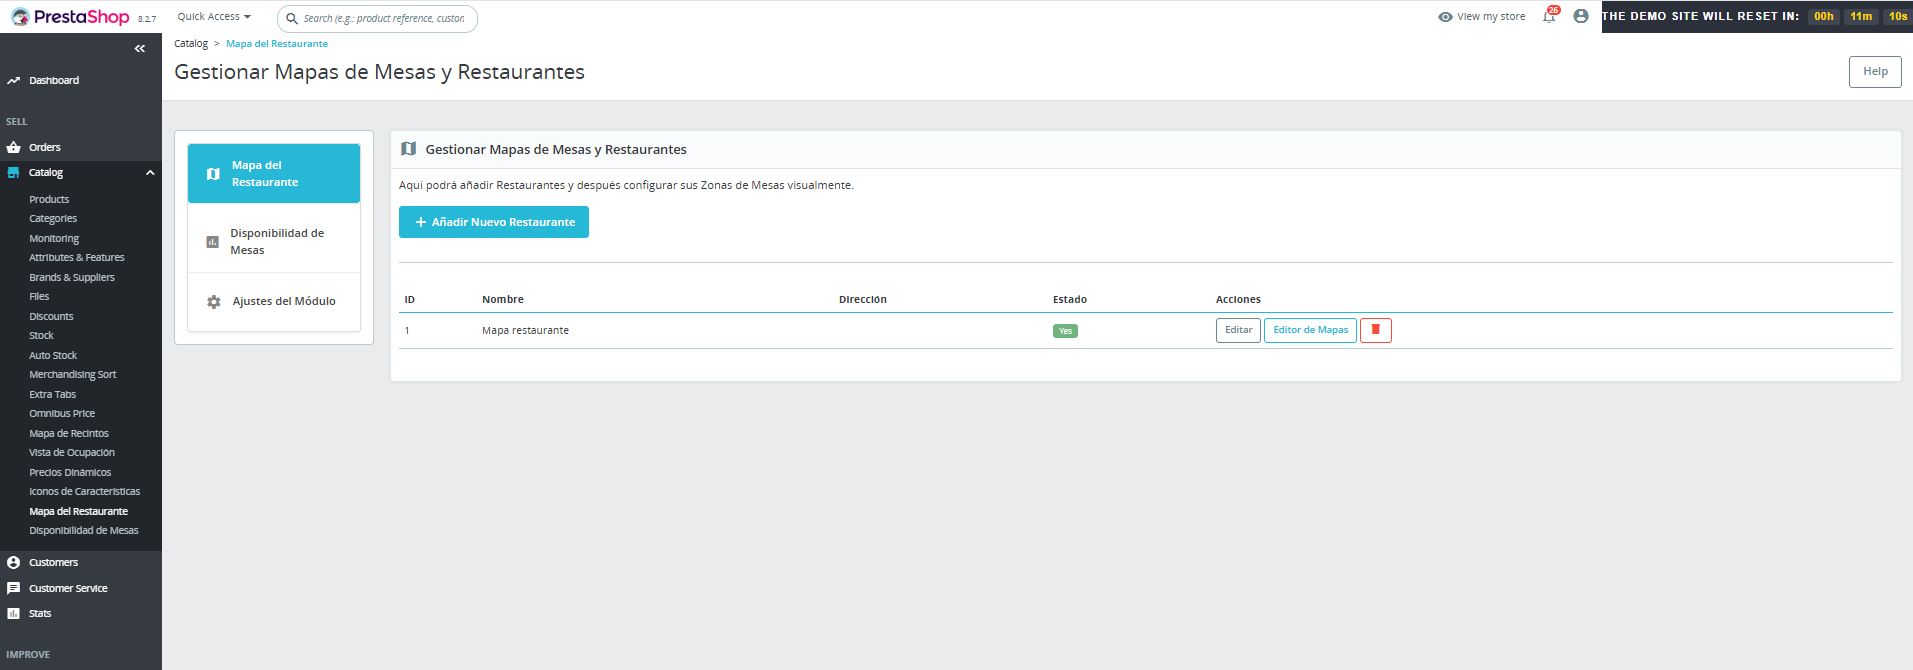
3. Accessing the Editor: Once the initial record is saved, open the visual canvas editor to start drafting your seating layout.
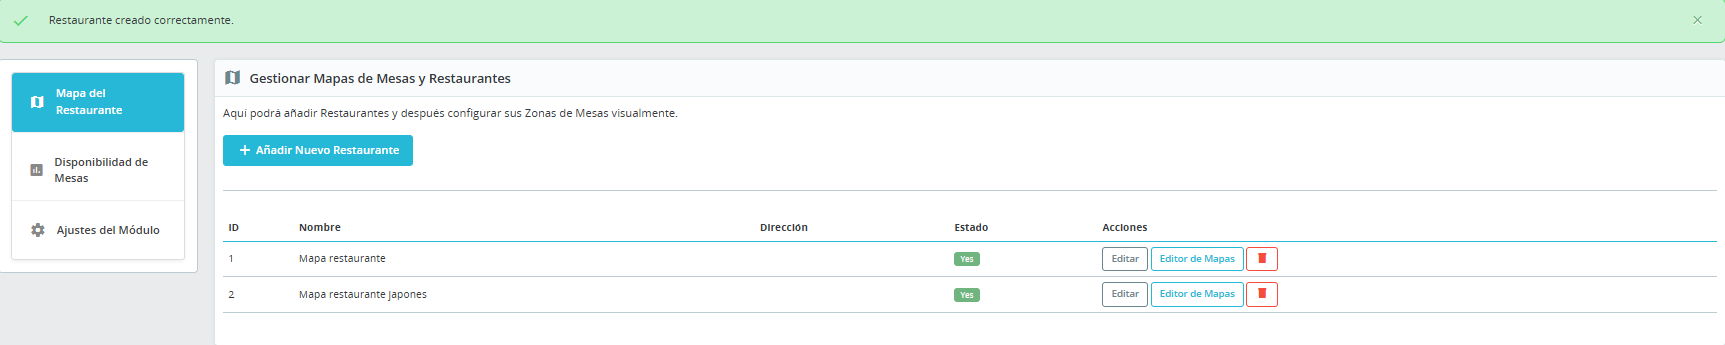
4. Uploading the Base Architectural Plan: Upload an image of your restaurant layout or blueprint. This blueprint acts as the canvas where you plot the interactive vector shapes so the module maps table coordinates accurately.
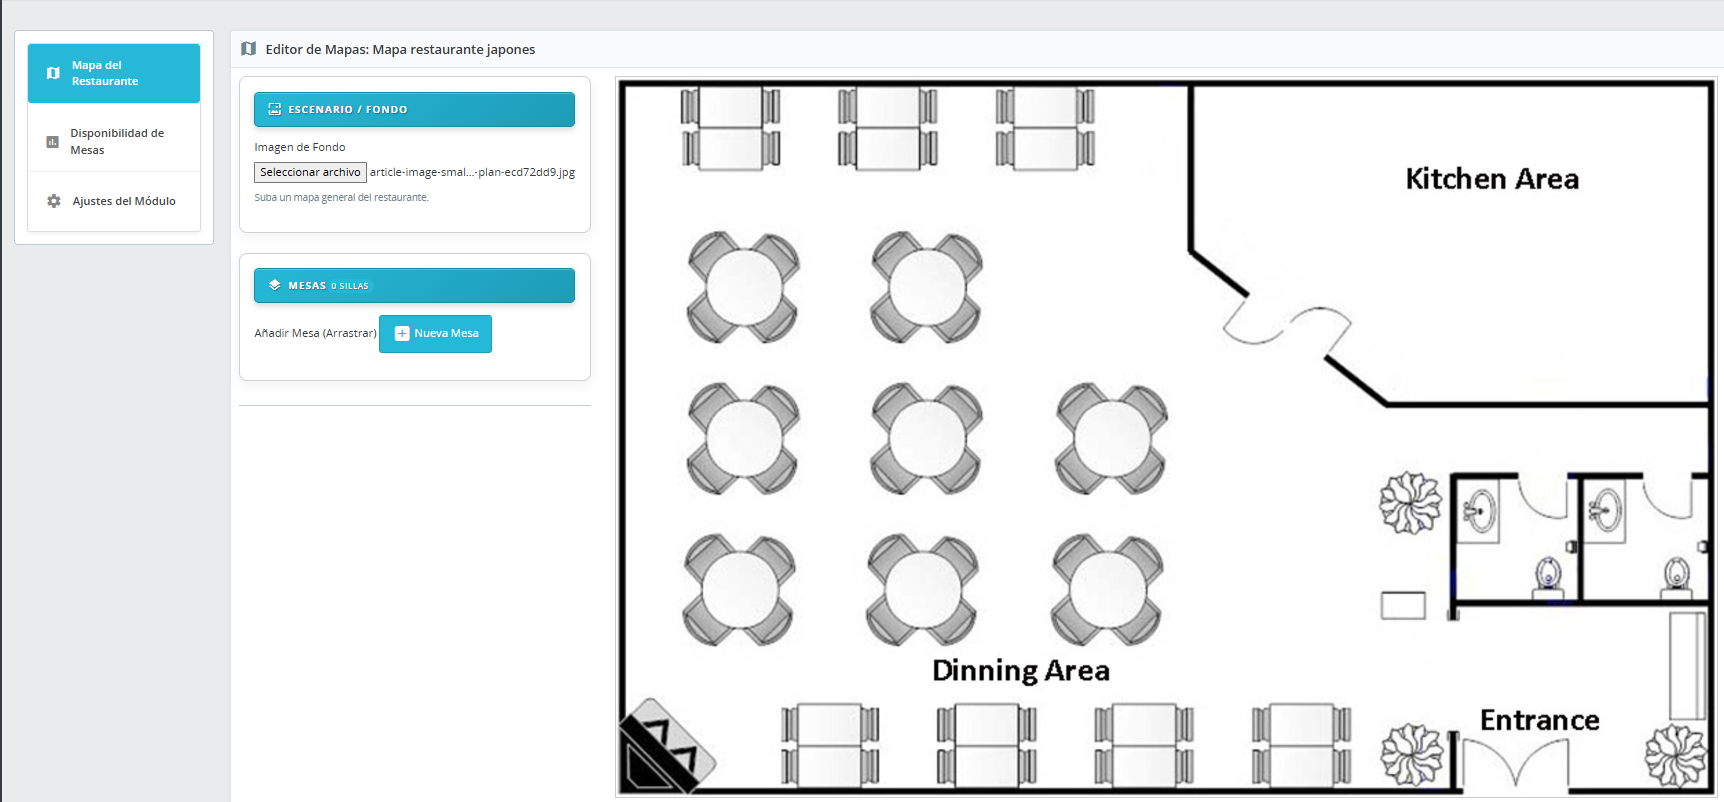
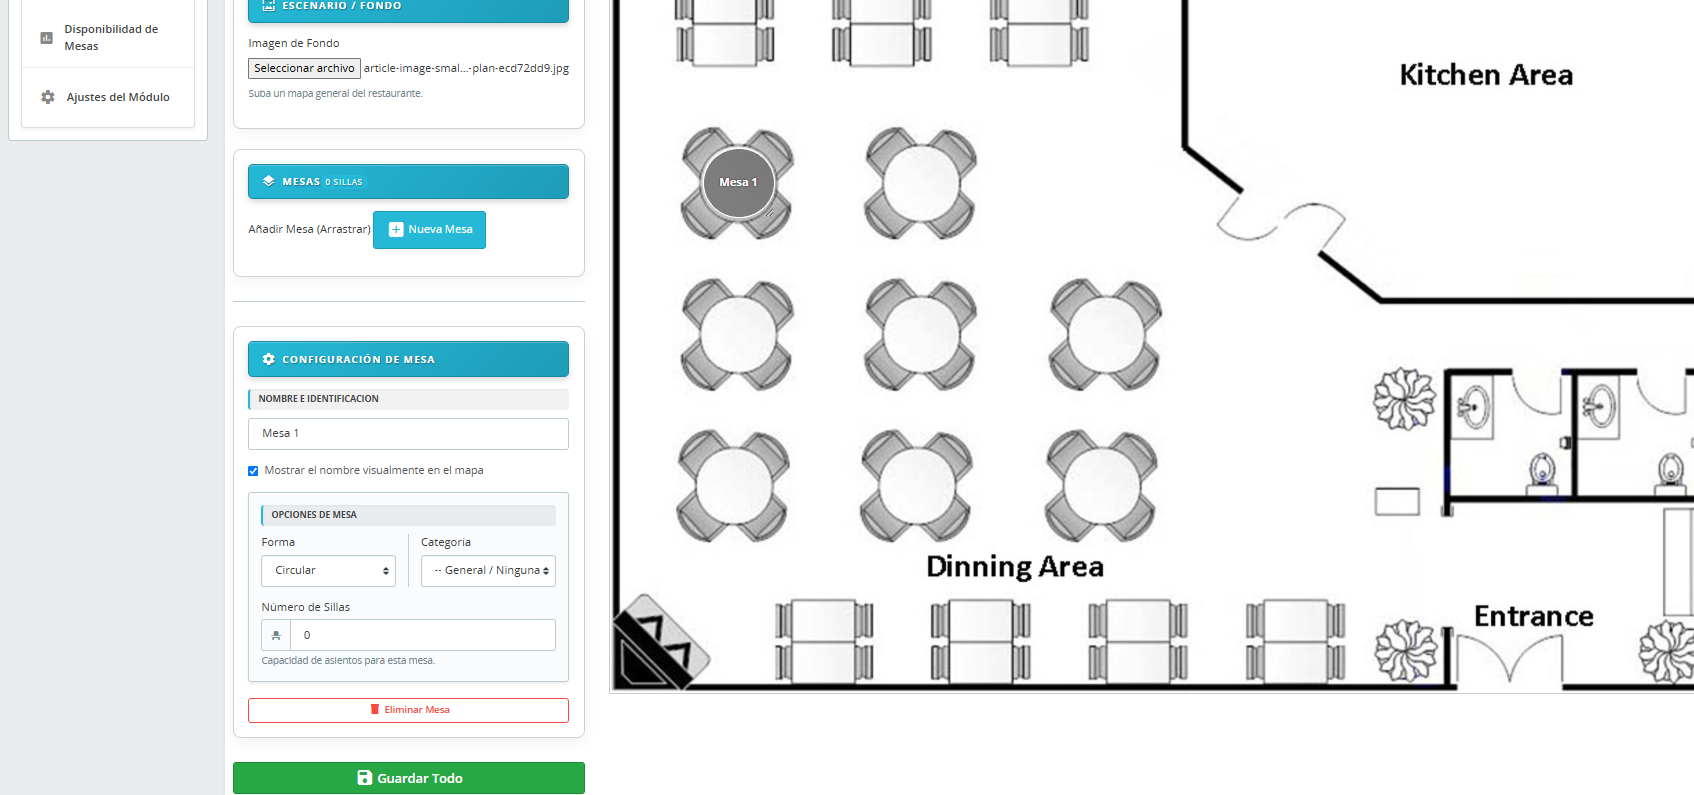
5. Drawing & Configuring Tables: Click "New Table" and drag your cursor over the canvas to delineate the table perimeter. Once drawn, customize its attributes: table name/number, geometry, assigned zone/category, and seating capacity (seats/pax). Save changes after placing each table.
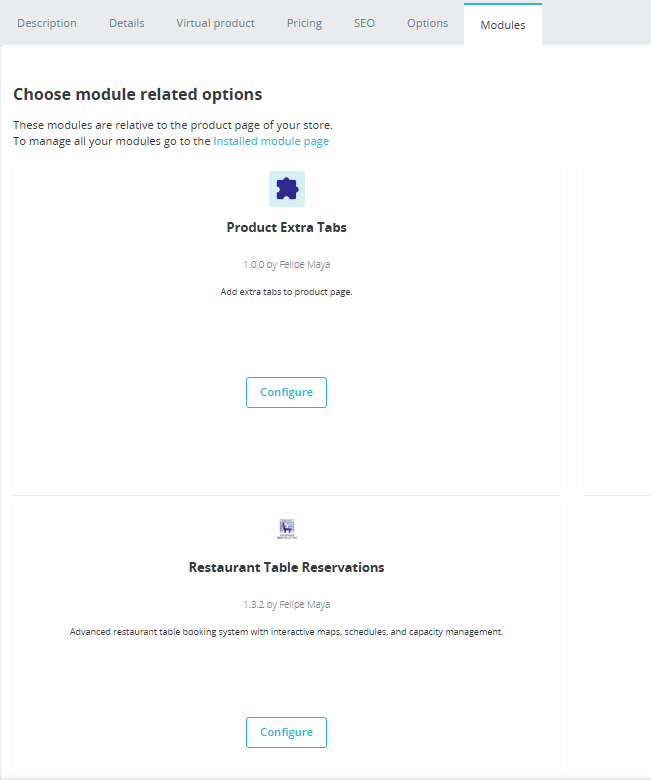
6. Linking to a Catalog Product: With the layout established, set up a product in your PrestaShop catalog to link with this floor plan (the product must be defined as a Virtual Product). Navigate to the Modules tab inside the product edit view to reveal the integration panel.
7. Shifts, Operating Hours & Capacity: Link your map here and establish your service schedule. You can configure shifts with fixed opening times or by flexible time windows. Select a calendar day, define the service hours, and quickly propagate the setup to remaining weekdays using the "Apply these hours quickly" utility.

Once configured, customers can access the interactive table selector on your storefront and book reservations smoothly.
Key Configuration Insights
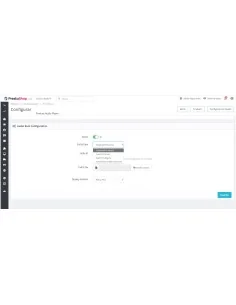
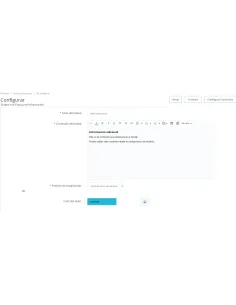
Option "Enable Step 5 (Food/Products)": Disabling this toggle in the module settings removes the food and menu selection screen entirely, switching the tool into a pure seat-booking engine. In this scenario, activate the bundled companion module (skipaddresstep) to trim redundant delivery address forms from the checkout funnel.
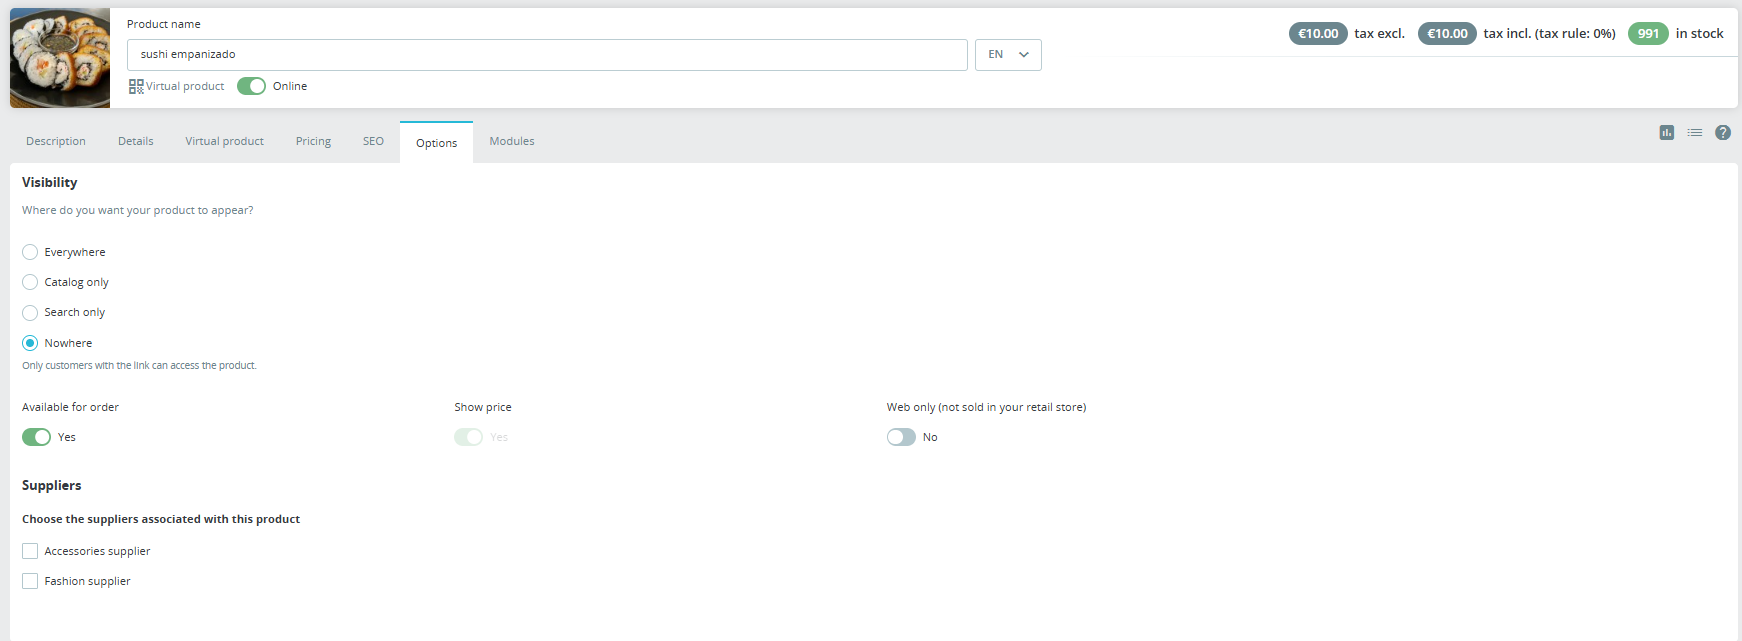
Option "Categories for Step 5": When the menu step is active, specify which catalog categories should be populated as add-ons. Pro tip: To offer dishes or drink packages exclusively within the booking flow without displaying them across your main storefront catalog or internal search, edit the item and set Options > Visibility to "Nowhere".

No questions yet. Be the first to ask a question!






Manage restaurant bookings with interactive table floor plans, time slots, and party size management. Features smart table assignment, cross-selling for food/drinks, QR check-in scanner, and self-service cancellations. The complete hospitality solution for PrestaShop. 🍽️📲